
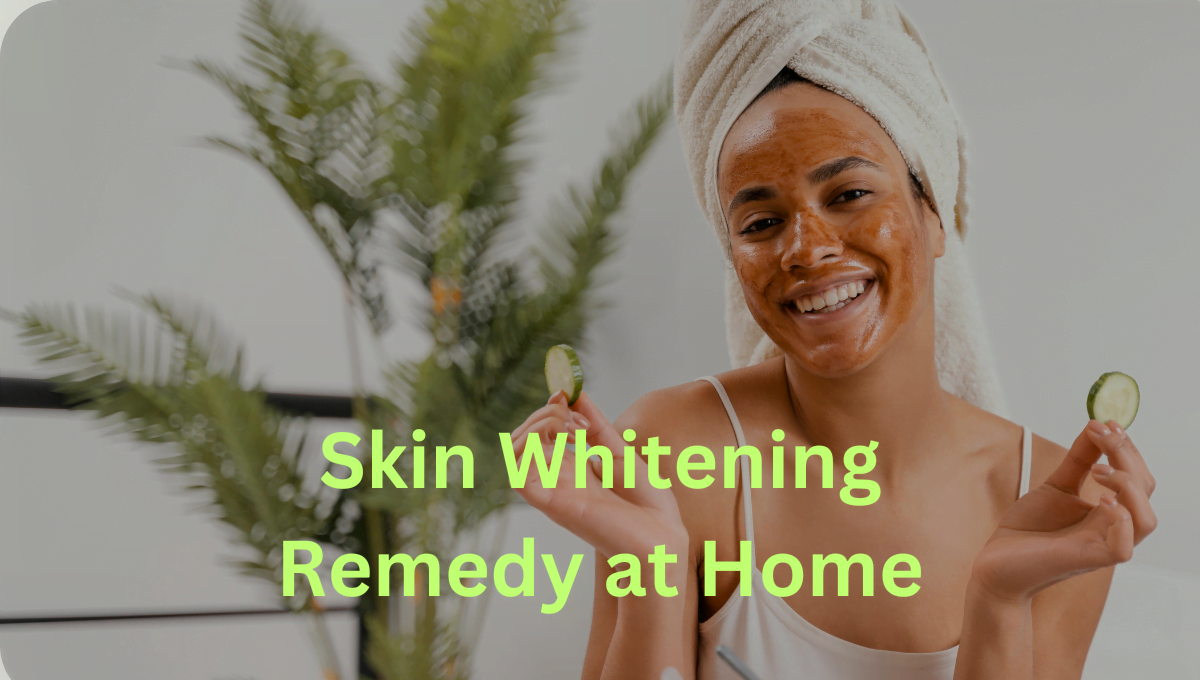
Hey there, beauty enthusiasts! Are you ready to embark on a journey to unveil your skin’s natural radiance? We know that achieving glowing, radiant skin is a dream for many. In this article, we’re diving into the world of skin whitening remedies that you can easily whip up in the comfort of your home. No need for fancy creams or expensive treatments – just a sprinkle of nature’s magic and a dash of self-care. Let’s get started on this exciting path to a brighter complexion!
Benefits of Natural Skin Whitening
Before we dive into the nitty-gritty of home remedies, let’s talk about why natural skin whitening is a fantastic choice. Unlike harsh chemicals that can harm your skin in the long run, natural remedies offer a gentle yet effective approach. They’re loaded with vitamins, minerals, and antioxidants that not only lighten your skin but also nourish and rejuvenate it. Plus, they’re pocket-friendly and eco-friendly – a win-win for you and the planet!
Citrusy Freshness: Lemon and Honey Magic
Imagine a potion that could brighten your skin and make you feel refreshed – that’s the magic of lemon and honey. Lemons are a natural source of vitamin C, a potent antioxidant that targets dark spots and uneven skin tone. When combined with honey’s moisturizing prowess, you’ve got yourself a dynamic duo.
Key Points:
- Lemon’s vitamin C targets pigmentation.
- Honey moisturizes and softens the skin.
- Recipe: Mix lemon juice and honey, apply, and rinse after 15 minutes.
Ingredients:
- Fresh lemon
- Natural honey
Instructions:
- Cut the lemon in half and squeeze out the juice into a clean bowl. Ensure there are no seeds in the juice.
- Choose a high-quality, natural honey. Honey is well-known for its moisturizing and antibacterial properties.
- In a small container, combine an equal amount of lemon juice and honey. For example, you can start with one tablespoon of lemon juice and one tablespoon of honey.
- Mix the lemon juice and honey thoroughly until they form a consistent blend. You’ll notice the sweet aroma of honey complemented by the citrusy fragrance of lemon.
- Before applying the mixture, cleanse your face using a gentle cleanser to remove any impurities.
- Using clean fingertips or a facial brush, apply the lemon and honey mixture to your face. Avoid the eye area and any sensitive areas.
- Allow the magic to work for about 15 to 20 minutes. During this time, the natural acids in lemon and the nourishing qualities of honey will work together to refresh and pamper your skin.
The Miraculous Turmeric Paste
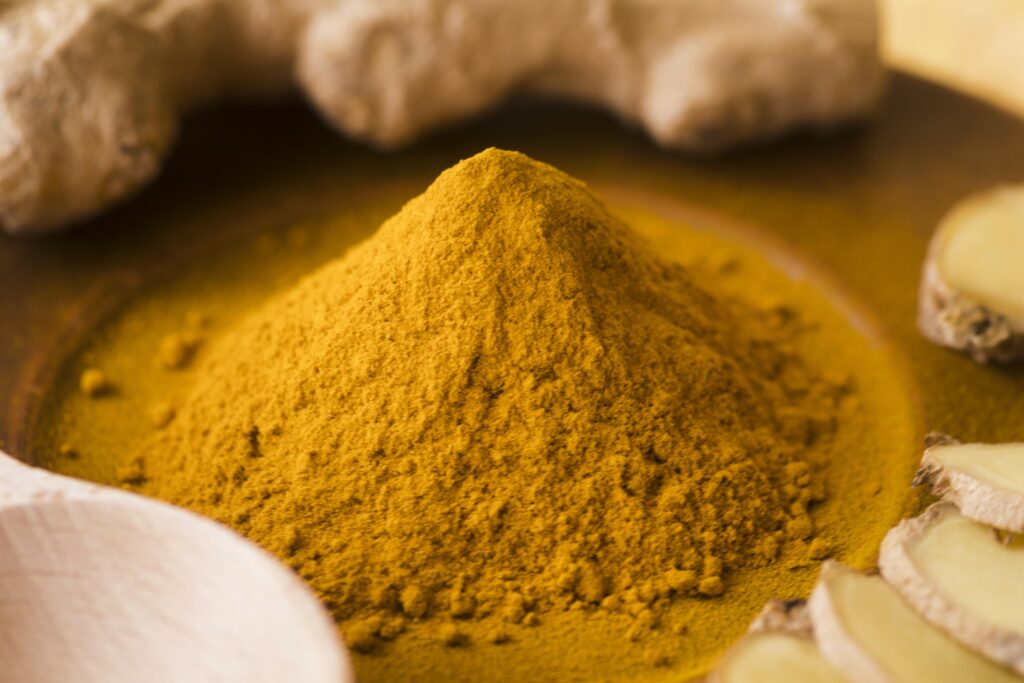
Traveling to the East, we uncover the secret of turmeric. This vibrant spice contains curcumin, known for its anti-inflammatory and skin-lightening properties. Say goodbye to dullness as turmeric paste brings out your skin’s inner glow.
Key Points:
- Turmeric’s curcumin reduces melanin production.
- Anti-inflammatory properties soothe irritated skin.
- Recipe: Mix turmeric with yogurt, apply, and wash off after 20 minutes.
Ingredients:
- Turmeric powder
- Water or milk (for mixing)
- Optional: Honey, yogurt, or coconut oil for added benefits
Instructions:
- Start by measuring out the amount of turmeric powder you wish to use. A common starting ratio is 2 parts turmeric powder to 1 part liquid (water or milk).
- In a mixing bowl, combine the turmeric powder with your chosen liquid. You can use water for a lighter consistency or milk for added nourishment. Stir well until you achieve a smooth, paste-like texture.
- If desired, you can enhance the paste’s benefits by adding a teaspoon of honey. Honey adds extra moisturizing and antibacterial properties.
- For additional soothing qualities, consider mixing in a tablespoon of yogurt. Yogurt contains lactic acid, which can gently exfoliate and promote a healthy glow.
- If you prefer a richer paste, incorporate a teaspoon of coconut oil. Coconut oil provides hydration and supports the absorption of curcumin.
- Once your turmeric paste is well mixed, it’s ready to use.
Creamy Goodness: Yogurt Delight
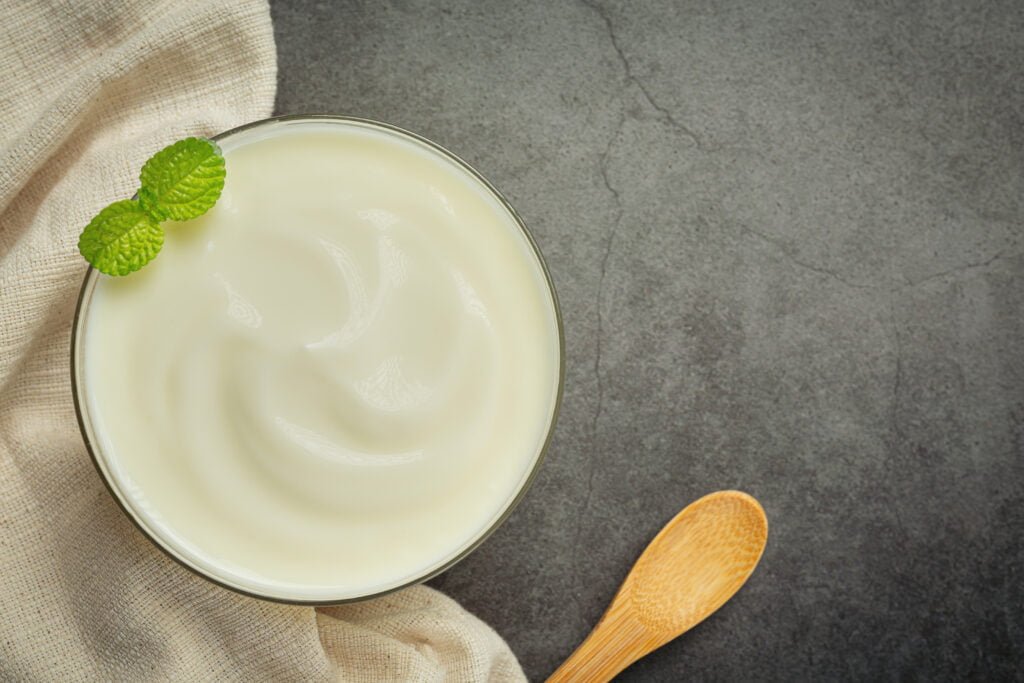
Who knew your breakfast favorite could be a skin savior too? Yogurt is rich in lactic acid, which exfoliates and brightens your skin. Bid farewell to dead skin cells, and welcome a smoother complexion.
Key Points:
- Lactic acid gently exfoliates and promotes cell turnover.
- Yogurt’s probiotics nourish and hydrate the skin.
- Recipe: Apply plain yogurt on your face, leave it for 15 minutes, and rinse off.
Ingredients:
- Plain yogurt (Greek or regular)
- Honey
- Optional: Oatmeal or finely ground almonds
Instructions:
- Begin by scooping out a desired amount of plain yogurt into a clean bowl. You can adjust the quantity based on the area you intend to treat. Approximately 2-3 tablespoons is a good starting point.
- Add a teaspoon of honey to the yogurt. Honey adds natural moisture and helps in retaining the skin’s hydration.
- Before applying the mixture, cleanse your face with a mild cleanser to ensure your skin is free from impurities.
- Using clean fingers or a facial brush, gently spread the yogurt mixture onto your face and neck. Avoid the eye and mouth areas.
- Relax and let the creamy goodness work its magic for about 15-20 minutes. During this time, you might experience a soothing sensation as the yogurt nurtures your skin.
Oatmeal Elegance for Exfoliation
Say hello to oatmeal, your skin’s new best friend. It’s a fantastic exfoliant that removes dirt and impurities, leaving you with a fresh canvas. Your skin will thank you for this rejuvenating treat.
Key Points:
- Oatmeal exfoliates without being harsh on the skin.
- It absorbs excess oil and unclogs pores.
- Recipe: Mix oatmeal with honey and water, gently scrub, and rinse off.
Ingredients:
- Oatmeal
- Honey
- Water
Instructions:
- Begin by taking a small amount of oatmeal and placing it in a bowl.
- Add a dollop of honey to the oatmeal. Honey’s natural antibacterial properties will complement oatmeal’s exfoliating action.
- Gradually add water to the mixture, creating a paste with a texture that suits your preference. Ensure the mixture is not too runny.
- Gently massage the oatmeal and honey concoction onto your damp skin using circular motions. Allow the mixture to work its wonders as it sloughs away impurities and rejuvenates your complexion.
- Once you’ve indulged in a soothing massage, rinse off the mixture thoroughly with lukewarm water.
- Pat your skin dry with a clean, soft towel, revealing the fresh and revitalized canvas that oatmeal has unveiled.
Nature’s Bounty: Papaya Power
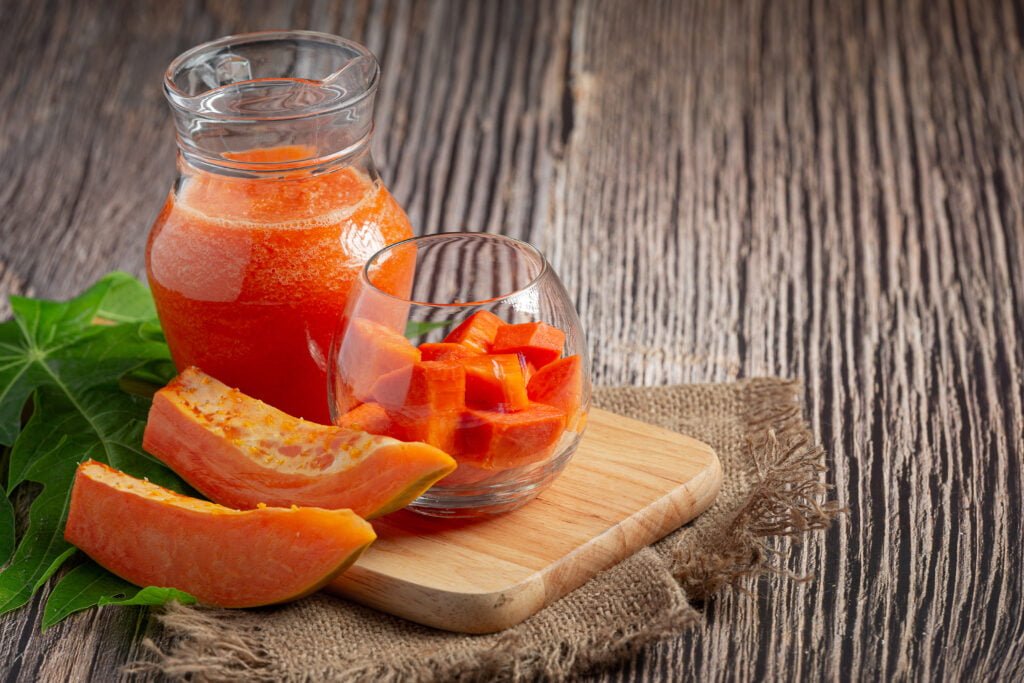
Let’s take a tropical twist with papaya. This juicy fruit contains papain, an enzyme that lightens and brightens your skin. Get ready to unveil a more even-toned complexion.
Key Points:
- Papain in papaya acts as a natural exfoliant.
- Rich in vitamins A, C, and E for skin nourishment.
- Recipe: Blend ripe papaya, apply for 20 minutes, and wash off.
Ingredients:
- Ripe papaya
Instructions:
- Begin by selecting a ripe papaya and ensuring it’s thoroughly washed.
- Cut the papaya open and scoop out the seeds and flesh.
- Place the papaya flesh into a blender and blend until it forms a smooth and creamy consistency.
- With clean hands or a gentle brush, apply the papaya blend to your cleansed face, avoiding the sensitive eye area.
- Allow the mask to work its enchantment for approximately 20 minutes. During this time, the papain enzyme will delicately exfoliate and nourish your skin.
- When the time is up, rinse off the mask using lukewarm water. Pat your skin dry with a soft towel.
Honey and Almond Scrub: A Dynamic Duo
Smooth, glowing skin is a scrub away with honey and almond. Almonds gently scrub away dead skin cells, while honey ensures your skin stays moisturized and pampered.
Key Points:
- Almonds slough off dead skin cells.
- Honey’s antioxidants combat free radicals.
- Recipe: Ground almonds, mix with honey, exfoliate, and rinse.
Ingredients:
- Honey
- Almond meal (ground almonds)
Instructions:
- Begin by measuring out the desired amount of almond meal into a bowl. Almond meal, with its gentle exfoliating properties, will work wonders on your skin.
- Add a generous drizzle of honey to the almond meal. Honey’s natural humectant abilities will help moisturize and nourish your skin.
- Mix the two ingredients thoroughly until they form a cohesive paste. The blend should have a texture that is easily spreadable yet substantial enough for effective exfoliation.
- Gently apply the honey and almond mixture to your dampened skin using circular motions. Allow the scrub to work its magic as it sloughs away dead skin cells and impurities, revealing a smoother and more vibrant complexion.
- Indulge in this rejuvenating treat for a few minutes before rinsing it off with lukewarm water.
- Pat your skin dry with a soft towel, and marvel at the softness and radiance that the honey and almond scrub has unveiled.
Cucumber Cooling Mask: Soothe and Brighten
When life gives you cucumbers, make a cooling mask! Cucumber slices reduce puffiness and dark circles, revealing brighter under-eye skin.
Key Points:
- Cucumber’s silica promotes collagen production.
- It’s a natural coolant, perfect for soothing irritated skin.
- Place cucumber slices on your eyes for 10 minutes.
Ingredients:
- Fresh cucumber
Instructions:
- Slice the cucumber into thin rounds using a clean knife and cutting board.
- Gently lie down and close your eyes.
- Place the cucumber slices over your closed eyes, ensuring they cover the entire under-eye area.
- Relax and leave the cucumber slices on your eyes for about 10 minutes.
- As you enjoy the cooling sensation, take deep breaths and unwind.
- After 10 minutes, remove the cucumber slices and discard them.
- Gently pat the skin around your eyes with a clean, soft towel to remove any excess moisture.
Milk Marvel: Lactic Acid Benefits
Turns out Cleopatra was onto something with her legendary milk baths. Milk’s lactic acid gently peels away dull skin, unveiling a smoother and more youthful you.
Key Points:
- Lactic acid improves skin texture and tone.
- Milk’s proteins nourish and soften the skin.
- Add milk to your bathwater or use as a cleanser.
Ingredients:
- Rice flour
- Milk
Instructions:
- Take a small bowl and add a desired amount of rice flour to it. The quantity will depend on the area you intend to treat. Start with about 1-2 tablespoons.
- Slowly pour in enough milk to the rice flour to create a smooth paste. The milk helps bind the rice flour and provides additional nourishment for the skin.
- Mix the rice flour and milk thoroughly until you achieve a consistent paste with no lumps.
- Cleanse your face or the area you want to treat using a gentle cleanser. Pat your skin dry with a clean towel.
- Using clean fingers or a clean brush, apply the rice flour and milk paste evenly to your face or the desired area. Avoid the sensitive eye and lip areas.
- Allow the paste to sit on your skin for about 15-20 minutes. During this time, you might experience a mild tightening sensation as the paste dries.
- Once the paste is dry, gently dampen your fingers and massage your skin in circular motions. This helps exfoliate your skin and remove dead cells.
- Rinse your face or the treated area with lukewarm water, ensuring you remove all traces of the paste.
- Pat your skin dry and follow up with your regular moisturizer to lock in hydration.
Tomato Therapy: Nature’s Antioxidant
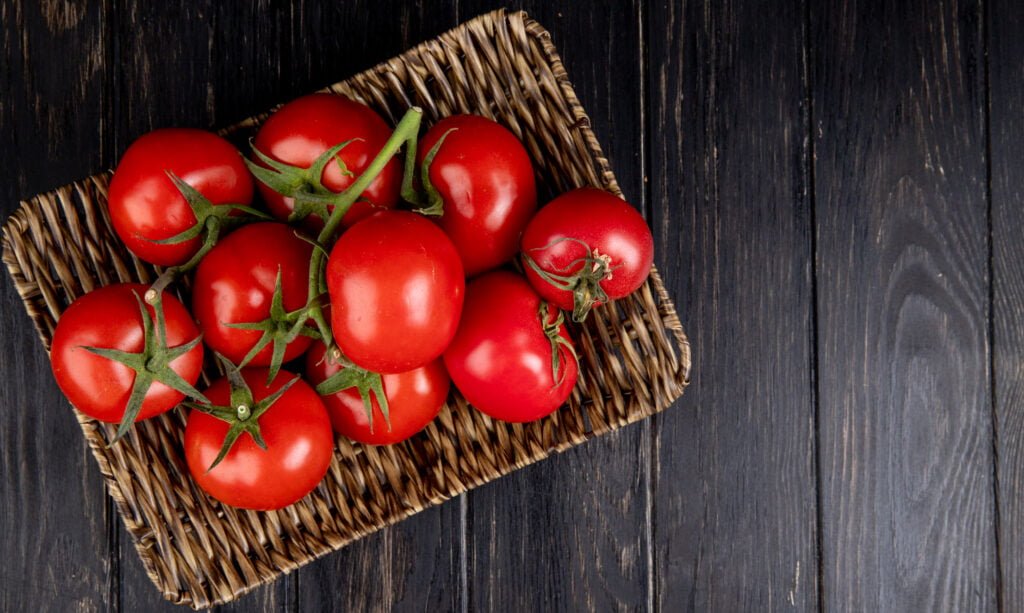
Tomatoes aren’t just for salads – they’re also your skin’s new best friend. The lycopene in tomatoes fights cellular damage, giving you a natural glow.
Key Points:
- Lycopene combats free radicals and sun damage.
- Tomatoes tighten pores and reduce oiliness.
- Blend tomato pulp, apply, and wash off after 15 minutes.
Ingredients:
- Ripe tomato
Instructions:
- Start by washing the tomato thoroughly to remove any dirt or impurities.
- Cut the tomato into small pieces or slices for easier application.
- Gently rub the tomato slices or pieces onto your clean and dry face, focusing on areas that could use extra attention, such as dull or uneven skin tone.
- Allow the tomato juice to sit on your skin for about 10-15 minutes. During this time, you might experience a mild tingling sensation.
- Rinse your face with cool water to remove the tomato juice.
- Pat your skin dry with a clean towel.
- Follow up with your favorite moisturizer to keep your skin hydrated.
Potato Potency: Brightening with Spuds
Potatoes may be humble, but they’re packed with vitamin C and niacin, making them excellent skin brighteners. Wave goodbye to blemishes and hello to radiant skin.
Key Points:
- Potato juice reduces dark spots and pigmentation.
- Vitamin C promotes collagen production.
- Grate and apply potato, rinse after
Ingredients:
- 2-3 tablespoons freshly extracted potato juice
- Lemon juice
Instructions:
- Mix the potato and lemon juices well.
- Use a cotton pad to apply this mixture to your face and neck.
- Leave it on for about 10 minutes before washing it off.
- Apply this juice to your face two times a week.
Olive Oil Nourishment: Healthy and Glowing Skin
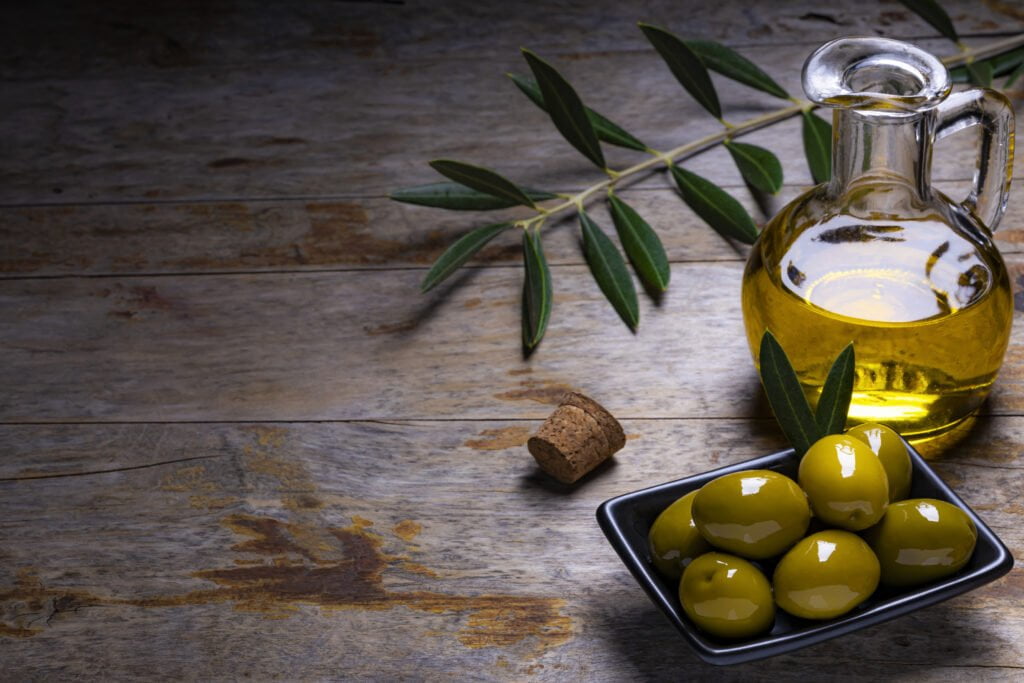
If you thought olive oil was just for cooking, think again. This liquid gold is a treasure trove of antioxidants and healthy fats that nourish your skin from within. Say hello to plump, radiant skin with a touch of olive oil.
Key Points:
- Antioxidants in olive oil fight signs of aging.
- Healthy fats maintain skin’s elasticity and hydration.
- Massage a small amount of olive oil onto your face before bedtime.
Ingredients:
- Extra virgin olive oil
Instructions:
- Pour a small amount of extra virgin olive oil into the palm of your hand. You can adjust the quantity based on the area you intend to treat.
- Gently rub your hands together to warm the oil slightly.
- Using your fingertips, apply the olive oil to your face, body, or specific dry areas, such as elbows and knees. Massage in circular motions, applying gentle pressure.
- Allow the oil to absorb into your skin for about 15-20 minutes. During this time, you can relax and enjoy the experience.
- If you’re using olive oil on your face, you can gently wipe away any excess oil with a clean, damp cloth.
- For a luxurious touch, you can also add a few drops of essential oil to the olive oil before applying it for a delightful fragrance and added benefits.
- Follow up with your regular skincare routine or simply let your skin breathe and enjoy the nourishing effects.
Aloe Vera’s Healing Touch
Nature’s soothing remedy, aloe vera, is here to rescue your skin. Bursting with vitamins, minerals, and enzymes, aloe vera calms inflammation, fades scars, and leaves you with a rejuvenated complexion.
Key Points:
- Aloe vera’s enzymes promote skin repair.
- It moisturizes without clogging pores.
- Apply fresh aloe vera gel directly to your skin or use skincare products containing aloe.
Ingredients:
- Aloe vera gel (freshly extracted or store-bought)
- Brown sugar
Instructions:
- Start with clean and damp skin. If you’re using this scrub in the shower, ensure your skin is wet.
- In a small bowl, combine a tablespoon of aloe vera gel with a tablespoon of brown sugar. Adjust the quantities based on the area you plan to exfoliate.
- Mix the ingredients well until they form a paste-like consistency.
- Gently apply the mixture to the desired area using your fingertips. For a full-body treatment, you can work in small sections.
- Using circular motions, gently massage the scrub into your skin. The brown sugar will help exfoliate and remove dead skin cells, while aloe vera provides hydration and soothing benefits.
- Continue massaging for about 2-3 minutes, paying extra attention to rough or dry areas.
- Rinse off the scrub with lukewarm water, ensuring you remove all traces of the mixture.
- Pat your skin dry with a clean towel.
- Follow up with a moisturizer to lock in the hydration and nourishment.
Remember, the journey to beautiful skin is a marathon, not a sprint. Consistency is key, so integrate these remedies into your skincare routine and watch your skin transform over time. Say goodbye to harsh chemicals and hello to the goodness of natural remedies.
So go ahead, pamper yourself, and let your skin bask in the love of these homemade skin whitening remedies. Your path to a more radiant you starts now!
FAQs
Q1: Can these remedies work for all skin types?
Absolutely! These remedies are gentle and can be customized for different skin types. If you have sensitive skin, do a patch test before applying to your face.
Q2: How often should I use these remedies?
For best results, use these remedies 2-3 times a week. Avoid overdoing it, as excessive exfoliation can irritate your skin.
Q3: How long will it take to see results?
Results vary from person to person, but with consistent use, you may start noticing improvements in your skin’s texture and tone within a few weeks.
Q4: Are there any side effects of using natural remedies?
Natural remedies are generally safe, but it’s possible to be allergic to certain ingredients. Always do a patch test and discontinue use if you experience any adverse reactions.
Q5: Can I use these remedies alongside my regular skincare products?
Absolutely! However, be mindful of ingredient interactions. Consult a dermatologist if you’re unsure about combining natural remedies with other skincare products.